Build your tire-changing tool kit
Fill the gaps in your kit: small-tip irons, a ratcheting box-end wrench, dedicated mounting lube and the handled core tool we prefer. Wheel support and the optional extras belong in the plan too.
Affiliate disclosure: As an Amazon Associate I earn from qualifying purchases. The Amazon links below are paid links. How our links work.
Motion Pro 8.5-inch Tire Iron
A compact steel iron with a flat end and a curved end. The smaller working tip is our bench preference when changing conventional tube-type tires.
Before you buy: This is an individual iron. Check the listing quantity and how many your tire-changing procedure calls for.
View on Amazon (paid link) — Motion Pro 8.5-inch Tire Iron, 08-0003Manufacturer details · 08-0003GEARWRENCH 12 mm Ratcheting Combination Wrench
An individual 12 mm wrench with a 72-tooth ratcheting box end—the wrench style we prefer for rim-lock and tube-retaining nuts.
Before you buy: Check your hardware first: some nuts need 13 mm or another size. This example is 12 mm, and it is not a torque wrench.
View on Amazon (paid link) — GEARWRENCH 12 mm Ratcheting Combination Wrench, 9112Manufacturer details · 9112No-Mar Tire Lube Paste
A water-soluble tire-mounting paste. No-Mar specifies direct paste use for installation and dilution for removal.
Before you buy: Confirm the pint jar and follow the tire and lubricant directions. This bead-mounting paste does not replace an insert maker’s specified mousse gel.
View on Amazon (paid link) — No-Mar Tire Lube Paste, SP-LUBE-PINTManufacturer details · SP-LUBE-PINTMotoSport Tire Changing Stand
The stand suggested by our editor: height adjusts from 20 to 32 inches, with a rubber-covered support ring and a built-in tool holder.
Before you buy: MotoSport lists wheels 16 inches and larger. Check wheel size and clearance; this is an alternative to the Chevy-wheel support we used for years.
View on Amazon (paid link) — MotoSport Tire Changing Stand, MTP000P00000Manufacturer details · MTP000P00000Lisle 15190 Valve Core Tool
A screwdriver-style handled tool with a heat-treated steel tip for removing and installing standard valve cores.
Before you buy: This is the bench style we prefer. A suitable valve-cap core tool works too; check whether your tube already came with one.
View on Amazon (paid link) — Lisle 15190 Valve Core Tool, 15190Manufacturer details · 15190Motion Pro Bead Buddy II
Hooks over a spoke to help keep the opposite tire bead down in the rim’s drop center while you work with tire irons.
Before you buy: For compatible spoked off-road wheels. Check spoke reach and rim shape; this is a bead holder, not a bead breaker.
View on Amazon (paid link) — Motion Pro Bead Buddy II, 08-0471Manufacturer details · 08-0471Motion Pro RimShield II
A pair of removable nylon shields that sit between the tire iron and a compatible rim during tire removal or installation.
Before you buy: Check the two-shield package and rim compatibility. Motion Pro excludes Harley-Davidson cast rims from this model.
View on Amazon (paid link) — Motion Pro RimShield II, 08-0546Manufacturer details · 08-0546Motion Pro T6 Combo Lever · 32 mm
An aluminum tire spoon with a 32 mm axle-nut box wrench at the other end. A useful combination for the tool kit, track box or tail kit.
Before you buy: Match your axle nut and the manufacturer’s tool torque limit. We prefer small-tip irons for tube work; broad spoons need extra care to avoid catching a tube.
View on Amazon (paid link) — Motion Pro T6 Combo Lever · 32 mm, 08-0289Manufacturer details · 08-0289These are product selections based on manufacturer information, not a new hands-on test or a complete kit. Finish the kit with the tools and supplies your exact wheel needs, plus suitable inflation equipment and a pressure gauge. A working wheel support or valve-cap tool you already own may save you a purchase. Confirm package contents, seller, fitment and current price on Amazon.
For conventional tube-type off-road wheel work. Tubeless systems and mousse inserts need their own procedures. Follow current tire, wheel and motorcycle instructions; the restored guide below reflects its original publication date.
Workbench notes: the tools we prefer
A few preferences from years of changing dirt bike tires. Tool shape, the wheel setup and whether you run tubes or mousses matter more than buying the biggest kit.
Small-tip irons for tubes; spoons have their place
For conventional inner tubes, we prefer the smaller working tip of a normal tire iron such as the 8.5-inch Motion Pro. In our experience, the broader spoon shape makes it easier to catch and pinch the tube if you are not careful. Either tool can still pinch a tube, so take small bites and keep the tube clear of the working tip.
Spoons are very nice when fitting mousses, where there is no inflatable inner tube to pinch. Mousse installation is a separate job: follow the insert maker’s tire compatibility, fitting and lubricant instructions. Tire-mounting paste for the bead is not a substitute for the specified mousse gel.
Honorable mention: spoons with an axle-sized box end
A spoon with a box-end axle wrench on the other end earns its place in a tool kit, track box or tail kit. You get two useful jobs from one tool. We still prefer the small-tip irons for tube work on the bench, but we like the usefulness of the combination design when packing tools for a ride.
Match the box end to your actual axle nut. The 32 mm Motion Pro example linked in the kit is one size, not a fitment recommendation for every dirt bike. Check the tool’s torque limit as well as the motorcycle’s tightening specification; a combo lever is not a torque wrench.
A ratcheting box end is our preference
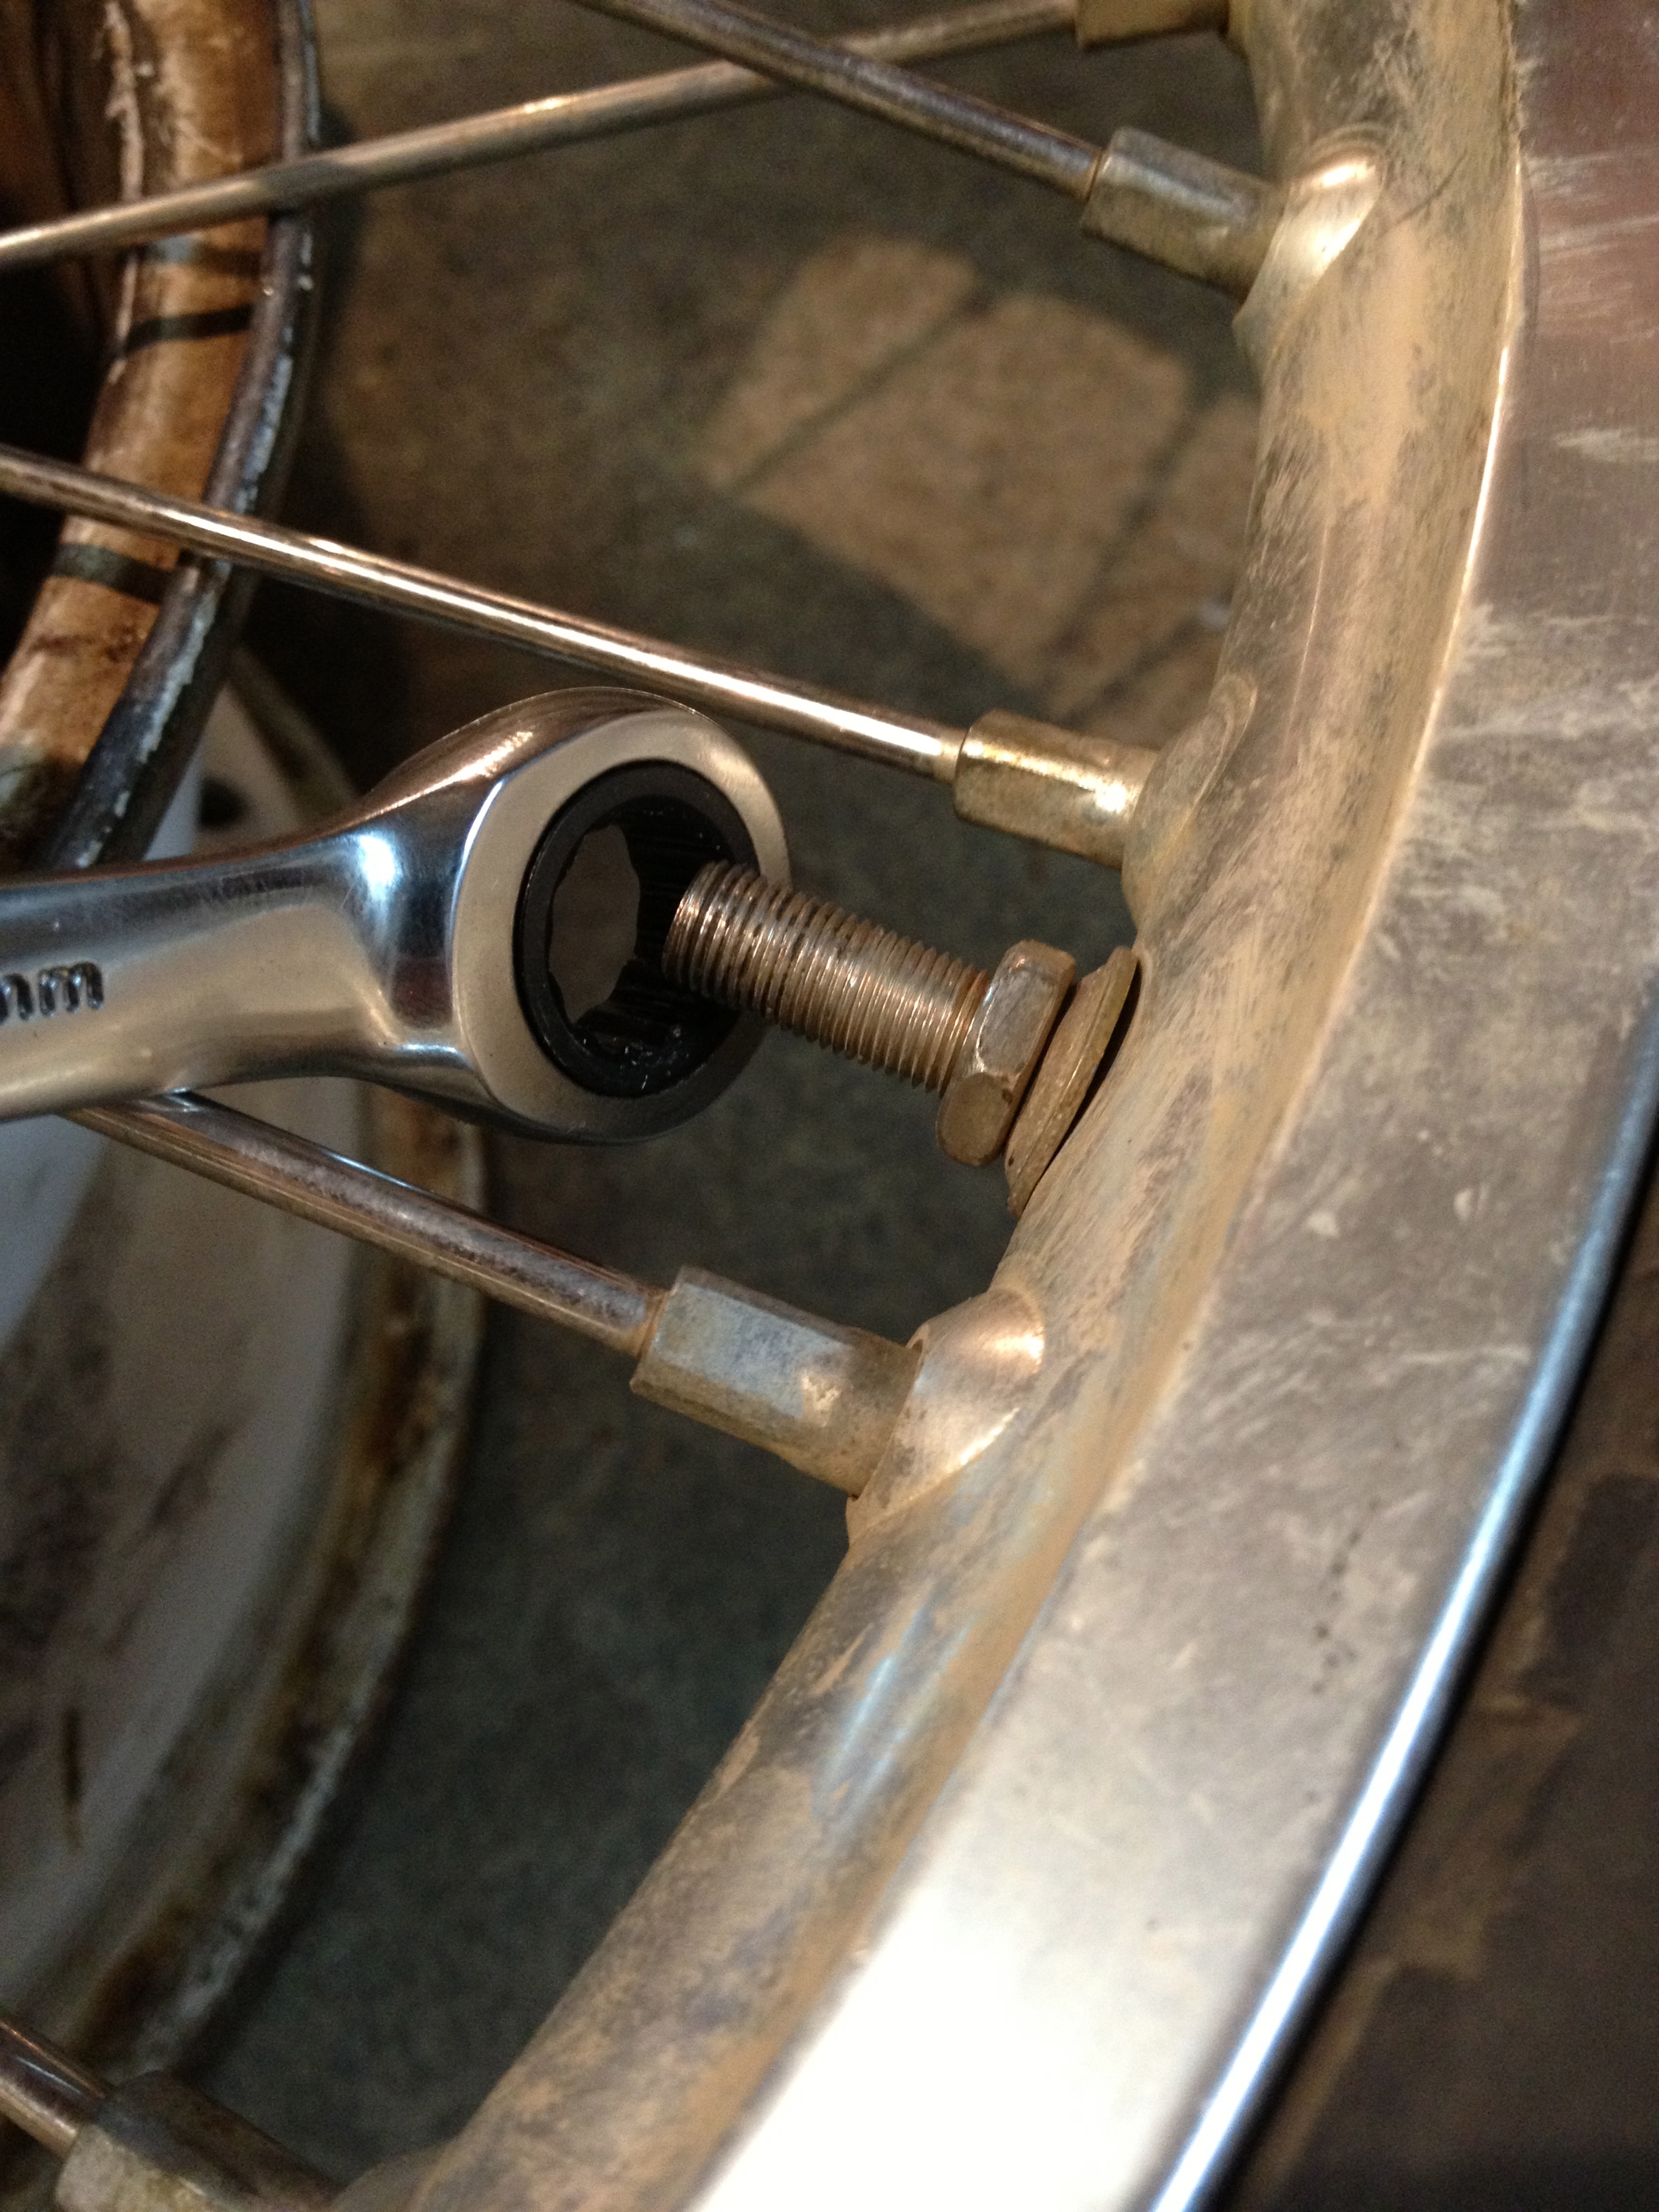
For rim-lock and tube-retaining nuts, we prefer a ratcheting box-end wrench: it is convenient when there is little room to keep lifting and repositioning a regular wrench. The original guide mentions 12 mm and 13 mm examples. Check your hardware instead of assuming either size; the linked 12 mm GEARWRENCH is an example of the style we like.
The old 15-inch Chevy wheel worked for years
Our low-cost tire stand was an old 15-inch Chevy steel wheel laid face down, and it worked for years. Its offset gave our motorcycle wheel room for the sprocket and brake rotor. You do not have to replace a setup that already works just to copy a shopping list.
That clearance depends on the particular wheels. Check that the support is stable and that the rotor, sprocket and hub stay clear of the floor and contact points. If you want a purpose-built option, the tire-changing stand linked above is an alternative; it is not equipment we are claiming to have used for those years.
Use a dedicated tire-mounting lubricant
Keep a tire-approved mounting lubricant with the tools and use it according to the tire and lubricant instructions. The kit now includes a dedicated mounting-paste option. The restored article mentions household soap and SC1 as historical shop practices; for current work, our recommendation is a purpose-made tire-mounting product rather than treating a bike-detailing spray as tire lubricant.
Screwdriver-style core tools for the bench; cap tools work too
We prefer the little screwdriver-style valve-core remover for bench work because the handle is comfortable to hold. The kit now points to that style. A valve-cap core tool works fine too, and some tubes arrive with a plastic cap that doubles as a remover. Check what came with your tube before buying another tool.
An ordinary plastic dust cap is not automatically a core tool: look for the slotted working tip and check that it fits the valve core. Use the appropriate installation instructions and avoid overtightening. The handle is there for control, not extra force.
I will cover some must have tools, basic procedures, and tips about the dreaded tire changes. This will help make your life easy and have all of your friends paying you to change their tires. Everyone knows changing a dirtbike or mx tire is not fun to do.
Tools needed
-First thing to know about any job is having the correct tools for the job!
1. Tire irons and / or tire spoons. (Used to pry Tires on to a wheel or rim)
– Things to know about tire irons and spoons: It is good to have more than one, I generally use 2 8 1/2 inch Motion pro irons, they are cheap, and they are just the right length for installing the tire, anything longer can potentially damage the tire or wheel from over leverage. You can find them here:
.
-There are also fancy spoons, handled irons, or some even come with a box end wrench that fit your axle nuts, combine 2 of them with your Axle nut sizes. For instance, the 22mm common on current front axles Honda CRF250r, CRF450R, modern CR 2-Strokes, and others makes/models, then the 32mm Rear Axle nut on same models:
-There are many kits, or sets available. Most include 3 tire irons, but i only have 2 hands so the 3rd sits in the tool box. For instance, Motion Pro’s most popular 3 piece tire iron kit is honestly not a bad option for the price:
-Just remember bigger is not better, it’s very common for some to damage a tire during installation using too large of a tire iron or spoon, bead breakage and so on. So with that in mind I use 2 Motion Pro 8 1/2in tire irons…you should never need much more than that. (DO NOT FORCE A TIRE OR PRY EXCESSIVELY!)
2. A wheel/tire stand
-There are several variations from floor and table top stands, as well as free standing. There is not much to them, they simply hold your rim in place while you work the tire off and back on.
– A key thing to remember is that it’s not fun to roll around on the garage floor or driveway struggling with a tire change without a stand, ( This can damage fingers, hands, the garage floor, wheels, hubs, spokes, brake rotors, and sprockets to name a few) so if you don’t have a stand you should purchase one, it’s well worth it. If you just cant afford one I survived many years and several tires a night using an old 15in Chevy steel wheel on the ground. Generally the off set of the wheel has enough room when laid on its face to not interfere with the sprocket or rotor.
3. Soap or tire mounting lube.
– I can’t tell you how important it is to lubricate a tire with something safe for the rubber that will not dry up before you are finished. There are several options available like:
-From the small spray bottle, to the industrial size gallon jug it serves the same purpose. In a pinch, something like dawn dish soap works well, or I almost always have a bottle of SC1 around for cleaning the bikes up, and it works great as well when applied generously around the beads of the tire:
-This helps with bead seating, and over all installation. I have installed thousands of motorcycle tires. the most common thing I hear is: “This tire is defective, the bead wont seat in one little spot on the rim” . That’s not necessarily the case, more than likely your tire is not defective…you either didn’t lubricate the tire or your lube dried up before you could seat the bead.
– On a side note it is sometimes good practice to use some baby powder on the tube and inside the tire as well to keep the tube from chafing as it is inflated or the tire is installed.
4. Wrench for rim lock/tube nuts.
– Generally these are a 12mm in some cases it might be a 13mm depending on the brand. I prefer a ratcheting box end wrench, one of my most important tools in the tool box! Gear wrench is hands down the best available wrench that ratchets. Their large ratcheting wrench sets and small ratcheting wrench sets available:
You can use a socket in most cases as well, or a regular wrench, but if you have a crescent wrench you need to throw that thing away. Gear wrenches are available as individuals as well if you want to slowly build your tool kit, or eliminate unnecessary sizes from your tool box:
5. A Valve Core Removal Tool. (Same as any automotive vale stem tool)
– It’s very important to deflate your tube completely prior to removing the tire. This can only be done by removing the valve stem core. There are many options, I like to use the valve stem cap styles on the rear of my bikes, then its always right there with the tire:
– You can also get something more like a screwdriver with a valve core tip that will go nicely into your tool box after the job is done:
6. A bead buddy.
– Most people look at a Motion Pro bead buddy, Tusk or HP tire bead tool, and don’t know how it would actually work, or how to start to use it. It’s very simple, and I will go on to more about how it’s used explain later in this post. For now i’ll tell you this “Its like having an extra set of hands!” Some people go beyond and use 2 of them (couldn’t hurt):
-Overall this tool will ease a lot of pain during an install and even during removal if used correctly, don’t short yourself and fight the tire. Get one and try it.
**Optional rim protectors? There are several rim protectors or rim shields out there, basically they protect the wheel from scuffs and scratches during the tire install. I don’t use them unless I have an anodized or powder coated wheel that I am changing the tire on.They’re kinda a pain to use, you can get the idea of them here:
Don’t forget to check out our other posts for more information about removing a tire, Installing, tools and other items that should be considered when changing mx tires.