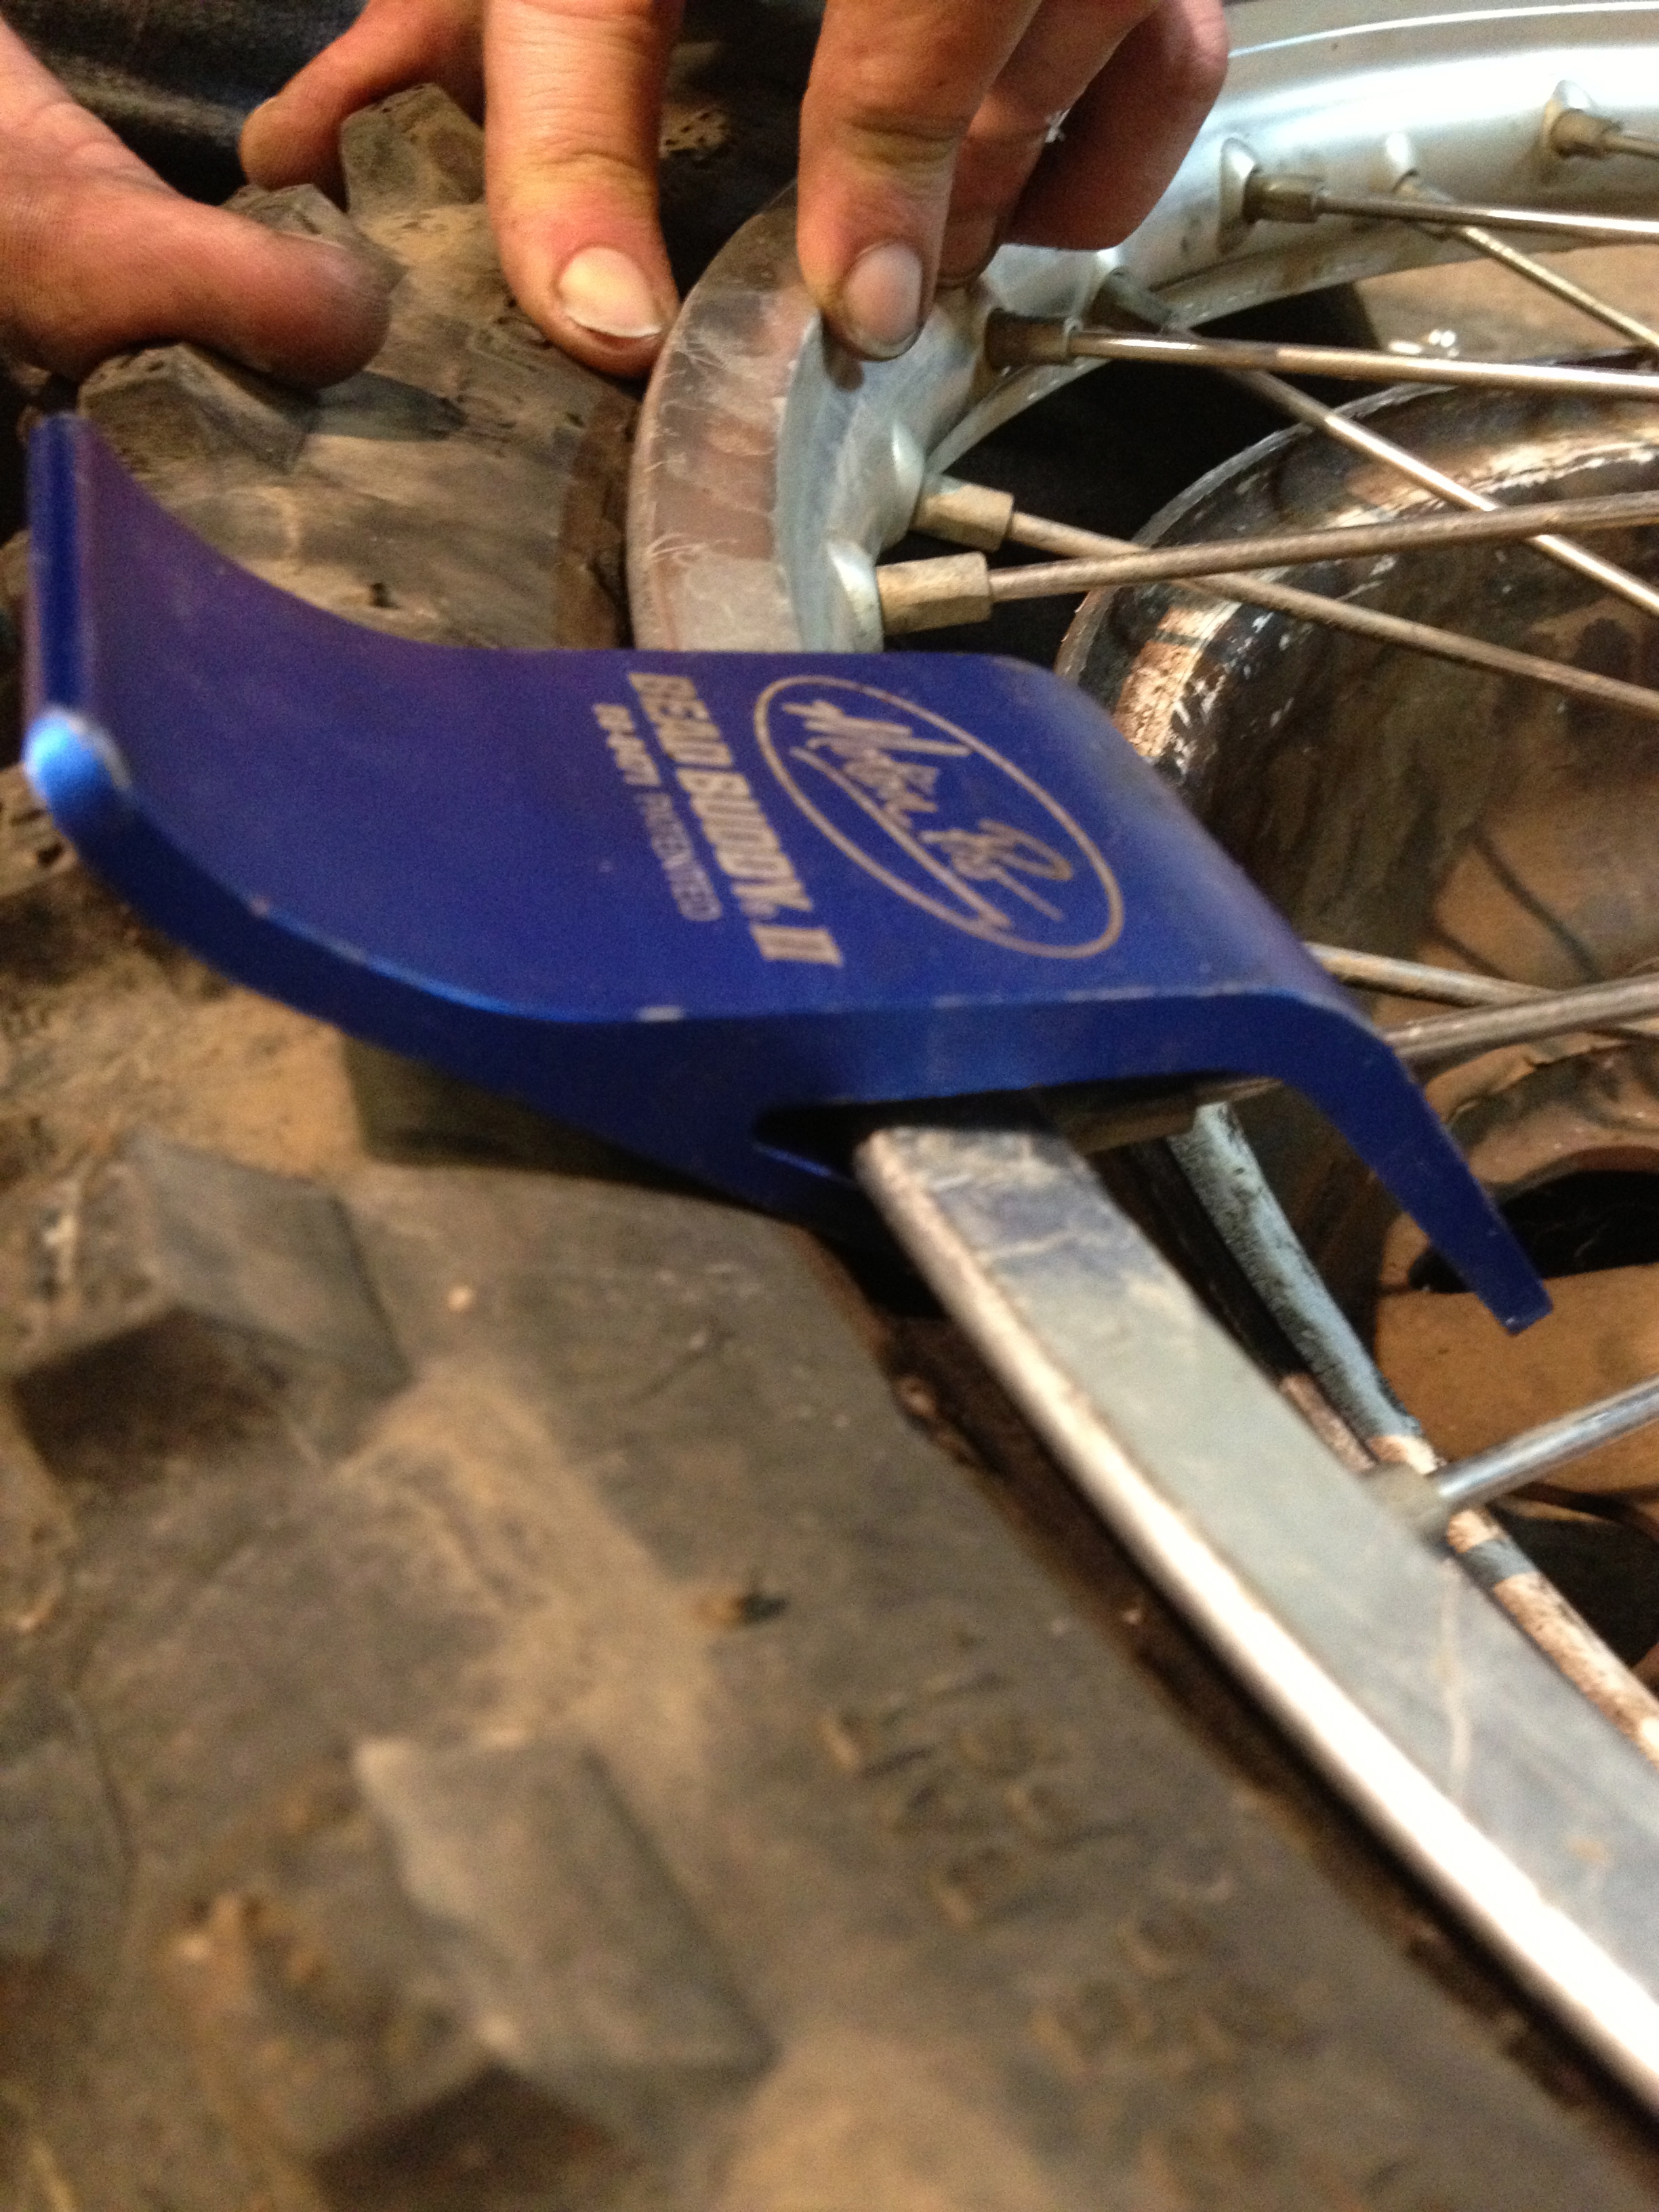
The rim is shaped specifically for 2 things: Tire installation, and Bead seating.
The most over looked thing about tire installation is that the rim has a valley in the center of it, not just for looks but for purpose! The center area of a rim that dips inward towards the wheel hub and contains the spoke nipples and rim strip is actually used to give slack to a tire during installation by dropping the tire bead on both sides of the tire into this valley on the opposite side of the wheel. It gives us that little extra needed to get the tire onto the rim with out damage.
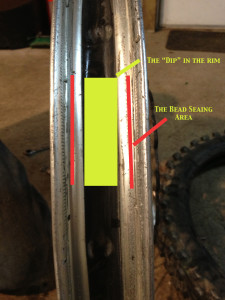
If it’s not going on easily STOP and take a breath and try again. Fighting a tire will damage the tire.
Always be aware of your tools and where they are placed, its easy to scratch a rim, in some cases it will not be avoidable. (You can buy rim protectors this may help or may get in your way. Powder coating a rim is not a good idea.)
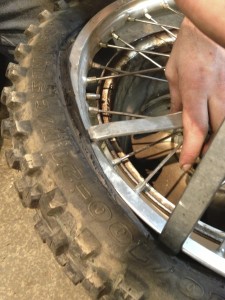
Also be aware of placement of the tire iron tips or spoons relative to where your tube may be, its very very easy to ruin a new tube, make sure you take care to not pinch the tube with your tools. (So always have some extra tubes around, I add them to my parts orders to meet the free shipping points)
Working a tire on and off doesn’t happen in the blink of an eye. Some people can make it look easy, and can do it very fast. This will only come with experience and practice.
Set up a work environment with all of your tools within reach that you will need for the tire swap, get your tire stand ready and have an open work space (to flail your limbs around in while you work).
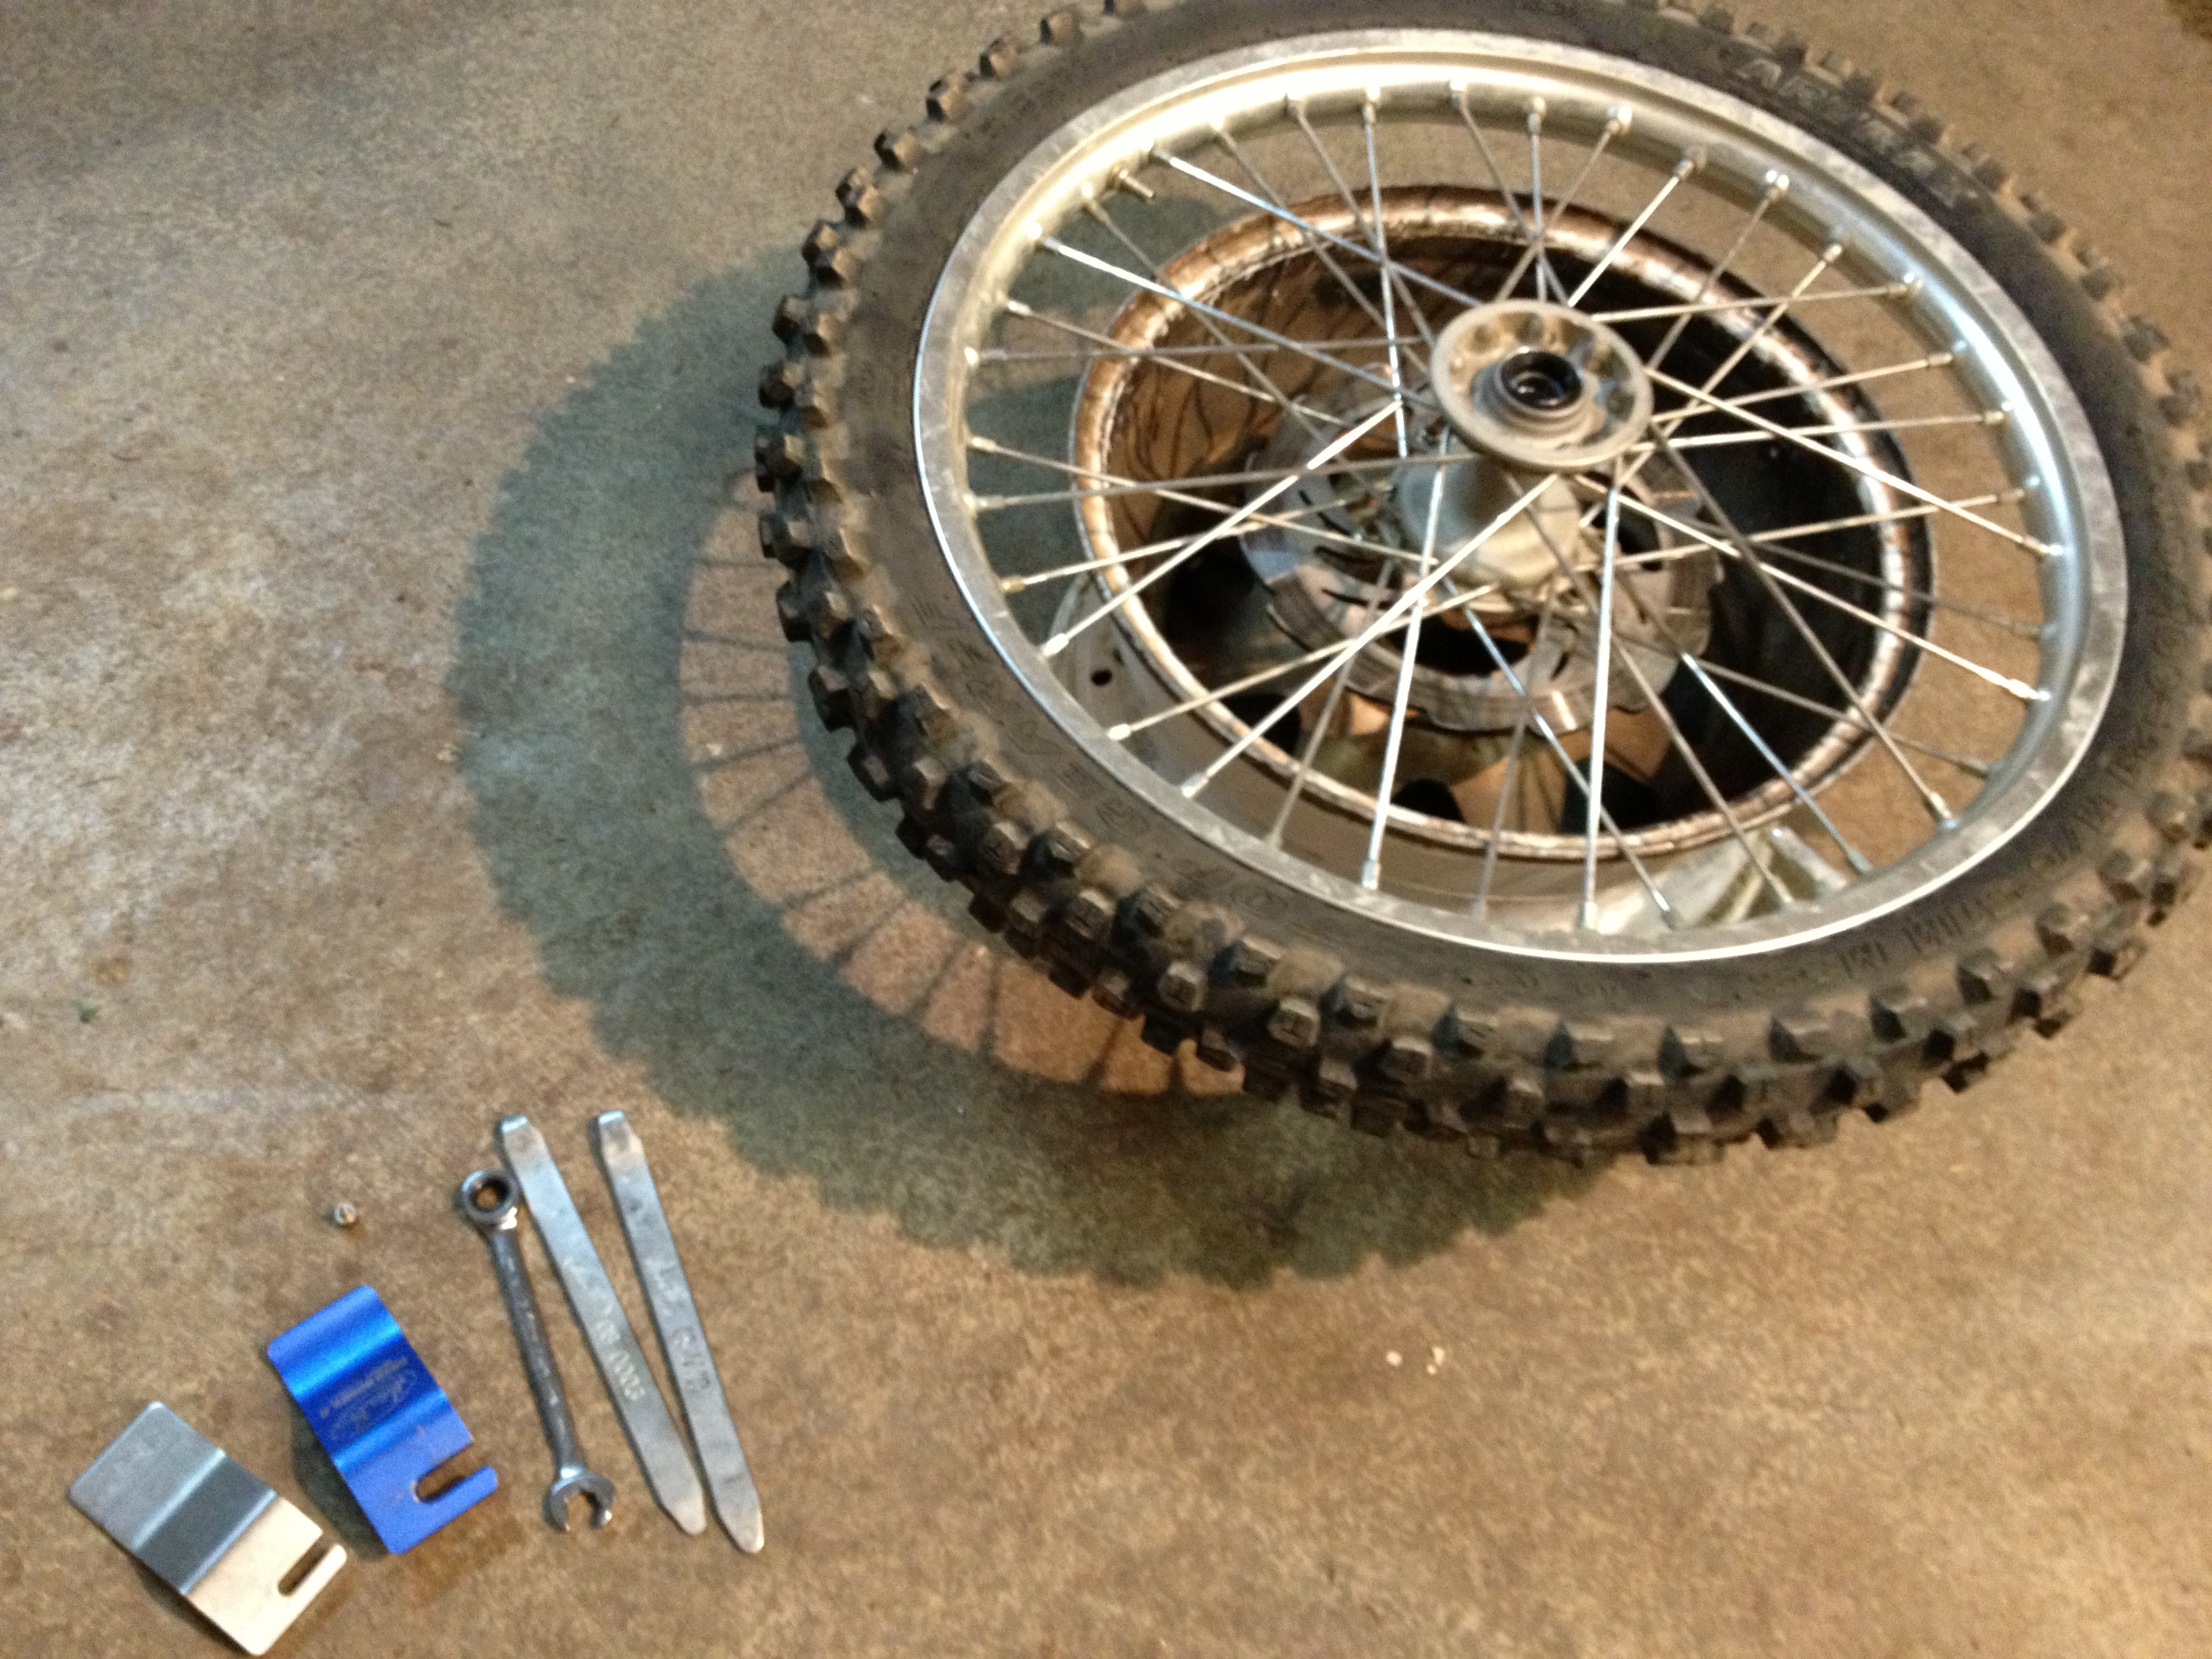
This might be a little over the top descriptive, but I cant tell you how much easier it is to work with the correct tools and in the correct fashion, I was always told, and shown that if I wasn’t going to do it right not to do it at all.
Don’t forget to check out our other posts for more information about removing a tire, Installing, tools and other items that should be considered when changing mx tires.
Tools for a more organized tire change
The bead holder, rim shields and small-tip iron cover different parts of the job. Dedicated mounting paste and a screwdriver-style valve-core tool round out the preparation. Reuse suitable tools you already own, and check each item against the current wheel, tire and tube instructions. Mounting paste does not replace specified mousse gel.
Affiliate disclosure: As an Amazon Associate I earn from qualifying purchases. These Amazon links are paid links. How our links work.
Motion Pro Bead Buddy II
Hooks over a spoke to help keep the opposite tire bead down in the rim’s drop center while you work with tire irons.
Before you buy: For compatible spoked off-road wheels. Check spoke reach and rim shape; this is a bead holder, not a bead breaker.
View on Amazon (paid link) — Motion Pro Bead Buddy II, 08-0471Manufacturer details · 08-0471Motion Pro RimShield II
A pair of removable nylon shields that sit between the tire iron and a compatible rim during tire removal or installation.
Before you buy: Check the two-shield package and rim compatibility. Motion Pro excludes Harley-Davidson cast rims from this model.
View on Amazon (paid link) — Motion Pro RimShield II, 08-0546Manufacturer details · 08-0546Motion Pro 8.5-inch Tire Iron
A compact steel iron with a flat end and a curved end. The smaller working tip is our bench preference when changing conventional tube-type tires.
Before you buy: This is an individual iron. Check the listing quantity and how many your tire-changing procedure calls for.
View on Amazon (paid link) — Motion Pro 8.5-inch Tire Iron, 08-0003Manufacturer details · 08-0003No-Mar Tire Lube Paste
A water-soluble tire-mounting paste. No-Mar specifies direct paste use for installation and dilution for removal.
Before you buy: Confirm the pint jar and follow the tire and lubricant directions. This bead-mounting paste does not replace an insert maker’s specified mousse gel.
View on Amazon (paid link) — No-Mar Tire Lube Paste, SP-LUBE-PINTManufacturer details · SP-LUBE-PINTLisle 15190 Valve Core Tool
A screwdriver-style handled tool with a heat-treated steel tip for removing and installing standard valve cores.
Before you buy: This is the bench style we prefer. A suitable valve-cap core tool works too; check whether your tube already came with one.
View on Amazon (paid link) — Lisle 15190 Valve Core Tool, 15190Manufacturer details · 15190These current product selections are separate from the restored 2013 article and do not update or validate all of its historical technical advice. Selections use manufacturer information, with no new hands-on testing claimed. Follow current motorcycle and component instructions; confirm fitment, package contents, seller and current price before buying.