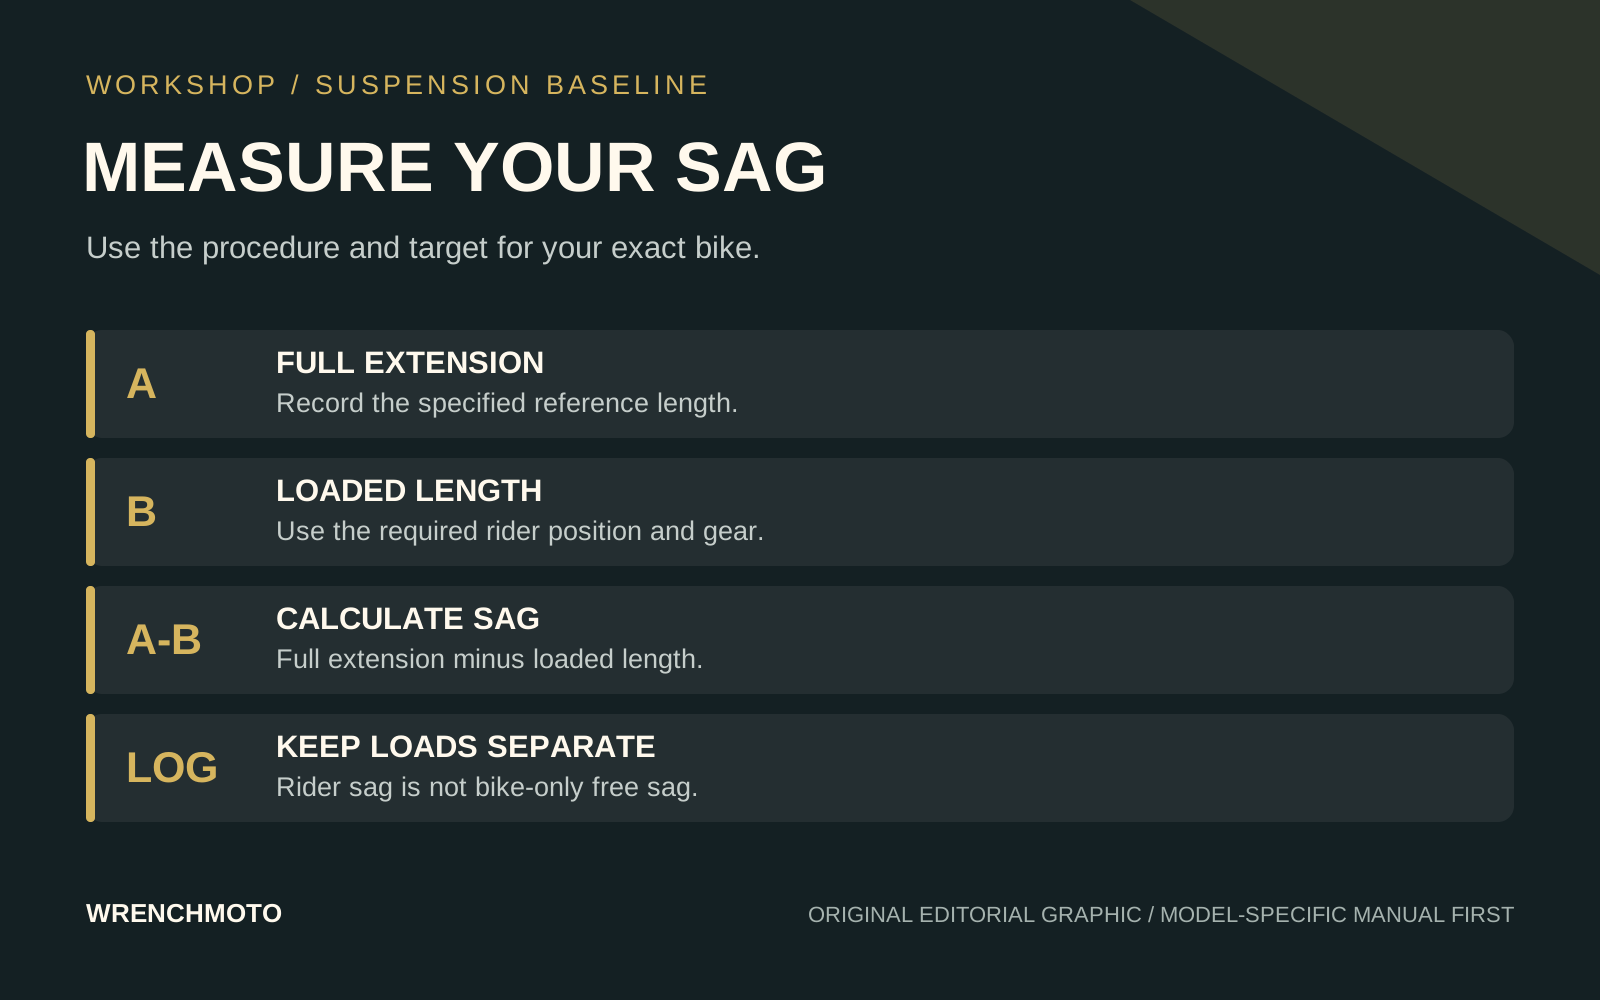
Before changing another damping clicker, find out where the rear suspension sits with you aboard. The useful result is a repeatable measurement tied to your bike's setup instructions. It is not a number borrowed from a friend's motorcycle or a promise that one adjustment will cure every handling complaint.
Name the measurement, not just the jargon
Here, rider sag means the change from fully extended suspension to the bike carrying the rider. Free sag means the change from fully extended to the bike carrying only its own weight. Terminology varies: Race Tech calls its rider measurement “Static Sag” or “Race Sag.” Write down the load condition so two people do not compare different measurements under the same name. [1]
Choose the procedure first
Use the instructions for your exact motorcycle and suspension. Honda's 2025 CRF250R/RX/RWE handbook specifies its reference points, race-ready bike condition and seated rider procedure. It also gives different sag guidance for different springs. Those details are a good reason not to turn one familiar millimeter figure into a universal setting. [2]
Start with a clean bike, the correct tools and a stable workstand. Arrange safe support and help before climbing aboard. Wear the riding equipment you actually use, and note luggage or other normal carried weight. Write down the spring identification and current settings before touching an adjuster. If the bike cannot be supported safely, postpone the measurement.
Measure from full extension
Race Tech's alternative method starts with the wheel off the ground and a near-vertical axle-to-chassis reference. With the rider in full gear standing on the pegs, it takes two settled readings: after gently compressing and releasing the suspension, then after gently lifting and releasing it. Their average is subtracted from the fully extended measurement. The difference between the two loaded readings reflects friction. Follow one complete procedure rather than mixing its stance with another guide's measurement points. [1]
Worksheet: record the fully extended length, the loaded length or settled average required by your chosen method, and the difference. Repeat for bike-only free sag if specified. Label every value in millimeters and every load condition in plain words. Photograph your reference points so next month's check uses the same locations. The arithmetic is simple; repeatability is the part worth taking slowly.
Adjust within the limits
For the Honda example, spring adjustment uses the specified tool and permissible installed-length range, followed by locknut tightening to the manual's torque. The handbook directs a spring change when adjustment cannot achieve the specified result. Do not keep winding preload past the permitted range to force the number, or treat shock disassembly as part of a basic sag check. [2]
Re-measure after each permitted change and record the result. If readings vary widely, the suspension sticks, or the required setup sits outside the manufacturer's limits, stop and get a suspension specialist involved. A messy set of measurements does not become reliable because one reading happens to match the target.
Keep the test small
WrenchMoto take: save this baseline before experimenting. After confirming the bike is safe, evaluate one change at a time on familiar terrain within your ability. Record what improved and what did not. Bring those notes, your riding weight and the actual spring details to a tuner if you need help. A clear starting point is more useful than a collection of unexplained clicker positions.
Sources & technical information
- Race Tech: setting sag.
- Honda: 2025 CRF250R/RX/RWE Competition Handbook, race sag and spring adjustment.
Sources checked Nov 11, 2026 (UTC). Use the exact suspension manufacturer and motorcycle instructions, including support, adjustment range and tightening requirements. This explains the measurement workflow, not shock servicing.