Tools for installing a dirt bike tire
A bead holder, suitable irons and an optional valve-stem fishing tool serve different parts of tube-type tire installation. Check every tool against your actual wheel and valve before following the restored installation guide below.
Affiliate disclosure: As an Amazon Associate I earn from qualifying purchases. The Amazon links below are paid links. How our links work.
Motion Pro 8.5-inch Tire Iron
A compact steel iron with a flat end and a curved end. The smaller working tip is our bench preference when changing conventional tube-type tires.
Before you buy: This is an individual iron. Check the listing quantity and how many your tire-changing procedure calls for.
View on Amazon (paid link) — Motion Pro 8.5-inch Tire Iron, 08-0003Manufacturer details · 08-0003GEARWRENCH 12 mm Ratcheting Combination Wrench
An individual 12 mm wrench with a 72-tooth ratcheting box end—the wrench style we prefer for rim-lock and tube-retaining nuts.
Before you buy: Check your hardware first: some nuts need 13 mm or another size. This example is 12 mm, and it is not a torque wrench.
View on Amazon (paid link) — GEARWRENCH 12 mm Ratcheting Combination Wrench, 9112Manufacturer details · 9112No-Mar Tire Lube Paste
A water-soluble tire-mounting paste. No-Mar specifies direct paste use for installation and dilution for removal.
Before you buy: Confirm the pint jar and follow the tire and lubricant directions. This bead-mounting paste does not replace an insert maker’s specified mousse gel.
View on Amazon (paid link) — No-Mar Tire Lube Paste, SP-LUBE-PINTManufacturer details · SP-LUBE-PINTMotoSport Tire Changing Stand
The stand suggested by our editor: height adjusts from 20 to 32 inches, with a rubber-covered support ring and a built-in tool holder.
Before you buy: MotoSport lists wheels 16 inches and larger. Check wheel size and clearance; this is an alternative to the Chevy-wheel support we used for years.
View on Amazon (paid link) — MotoSport Tire Changing Stand, MTP000P00000Manufacturer details · MTP000P00000Lisle 15190 Valve Core Tool
A screwdriver-style handled tool with a heat-treated steel tip for removing and installing standard valve cores.
Before you buy: This is the bench style we prefer. A suitable valve-cap core tool works too; check whether your tube already came with one.
View on Amazon (paid link) — Lisle 15190 Valve Core Tool, 15190Manufacturer details · 15190Motion Pro Bead Buddy II
Hooks over a spoke to help keep the opposite tire bead down in the rim’s drop center while you work with tire irons.
Before you buy: For compatible spoked off-road wheels. Check spoke reach and rim shape; this is a bead holder, not a bead breaker.
View on Amazon (paid link) — Motion Pro Bead Buddy II, 08-0471Manufacturer details · 08-0471Motion Pro RimShield II
A pair of removable nylon shields that sit between the tire iron and a compatible rim during tire removal or installation.
Before you buy: Check the two-shield package and rim compatibility. Motion Pro excludes Harley-Davidson cast rims from this model.
View on Amazon (paid link) — Motion Pro RimShield II, 08-0546Manufacturer details · 08-0546Motion Pro T6 Combo Lever · 32 mm
An aluminum tire spoon with a 32 mm axle-nut box wrench at the other end. A useful combination for the tool kit, track box or tail kit.
Before you buy: Match your axle nut and the manufacturer’s tool torque limit. We prefer small-tip irons for tube work; broad spoons need extra care to avoid catching a tube.
View on Amazon (paid link) — Motion Pro T6 Combo Lever · 32 mm, 08-0289Manufacturer details · 08-0289Kastar Valve Stem Fishing Tool
The inspected Amazon listing identifies the Kastar 408A valve-stem fishing tool. Lang Tools’ 408A product information describes a tool that threads inside the valve stem to help guide the stem or inner-tube assembly through the rim hole.
Before you buy: Confirm the actual 408A tool, valve-thread compatibility and supplied instructions before ordering. Use only with a compatible tube valve and wheel arrangement; do not force or pull a misaligned stem. It is not a tubeless conversion tool or a substitute for checking tube position, rim protection and the complete installation.
View on Amazon (paid link) — Kastar Valve Stem Fishing Tool, 408AManufacturer details · 408AThese are product selections based on manufacturer information, not a new hands-on test or a complete kit. Finish the kit with the tools and supplies your exact wheel needs, plus suitable inflation equipment and a pressure gauge. A working wheel support or valve-cap tool you already own may save you a purchase. Confirm package contents, seller, fitment and current price on Amazon.
For conventional tube-type off-road wheel work. Tubeless systems and mousse inserts need their own procedures. Follow current tire, wheel and motorcycle instructions; the restored guide below reflects its original publication date.
Read our current workbench notes on irons, spoons, wheel support and valve tools before choosing your kit.
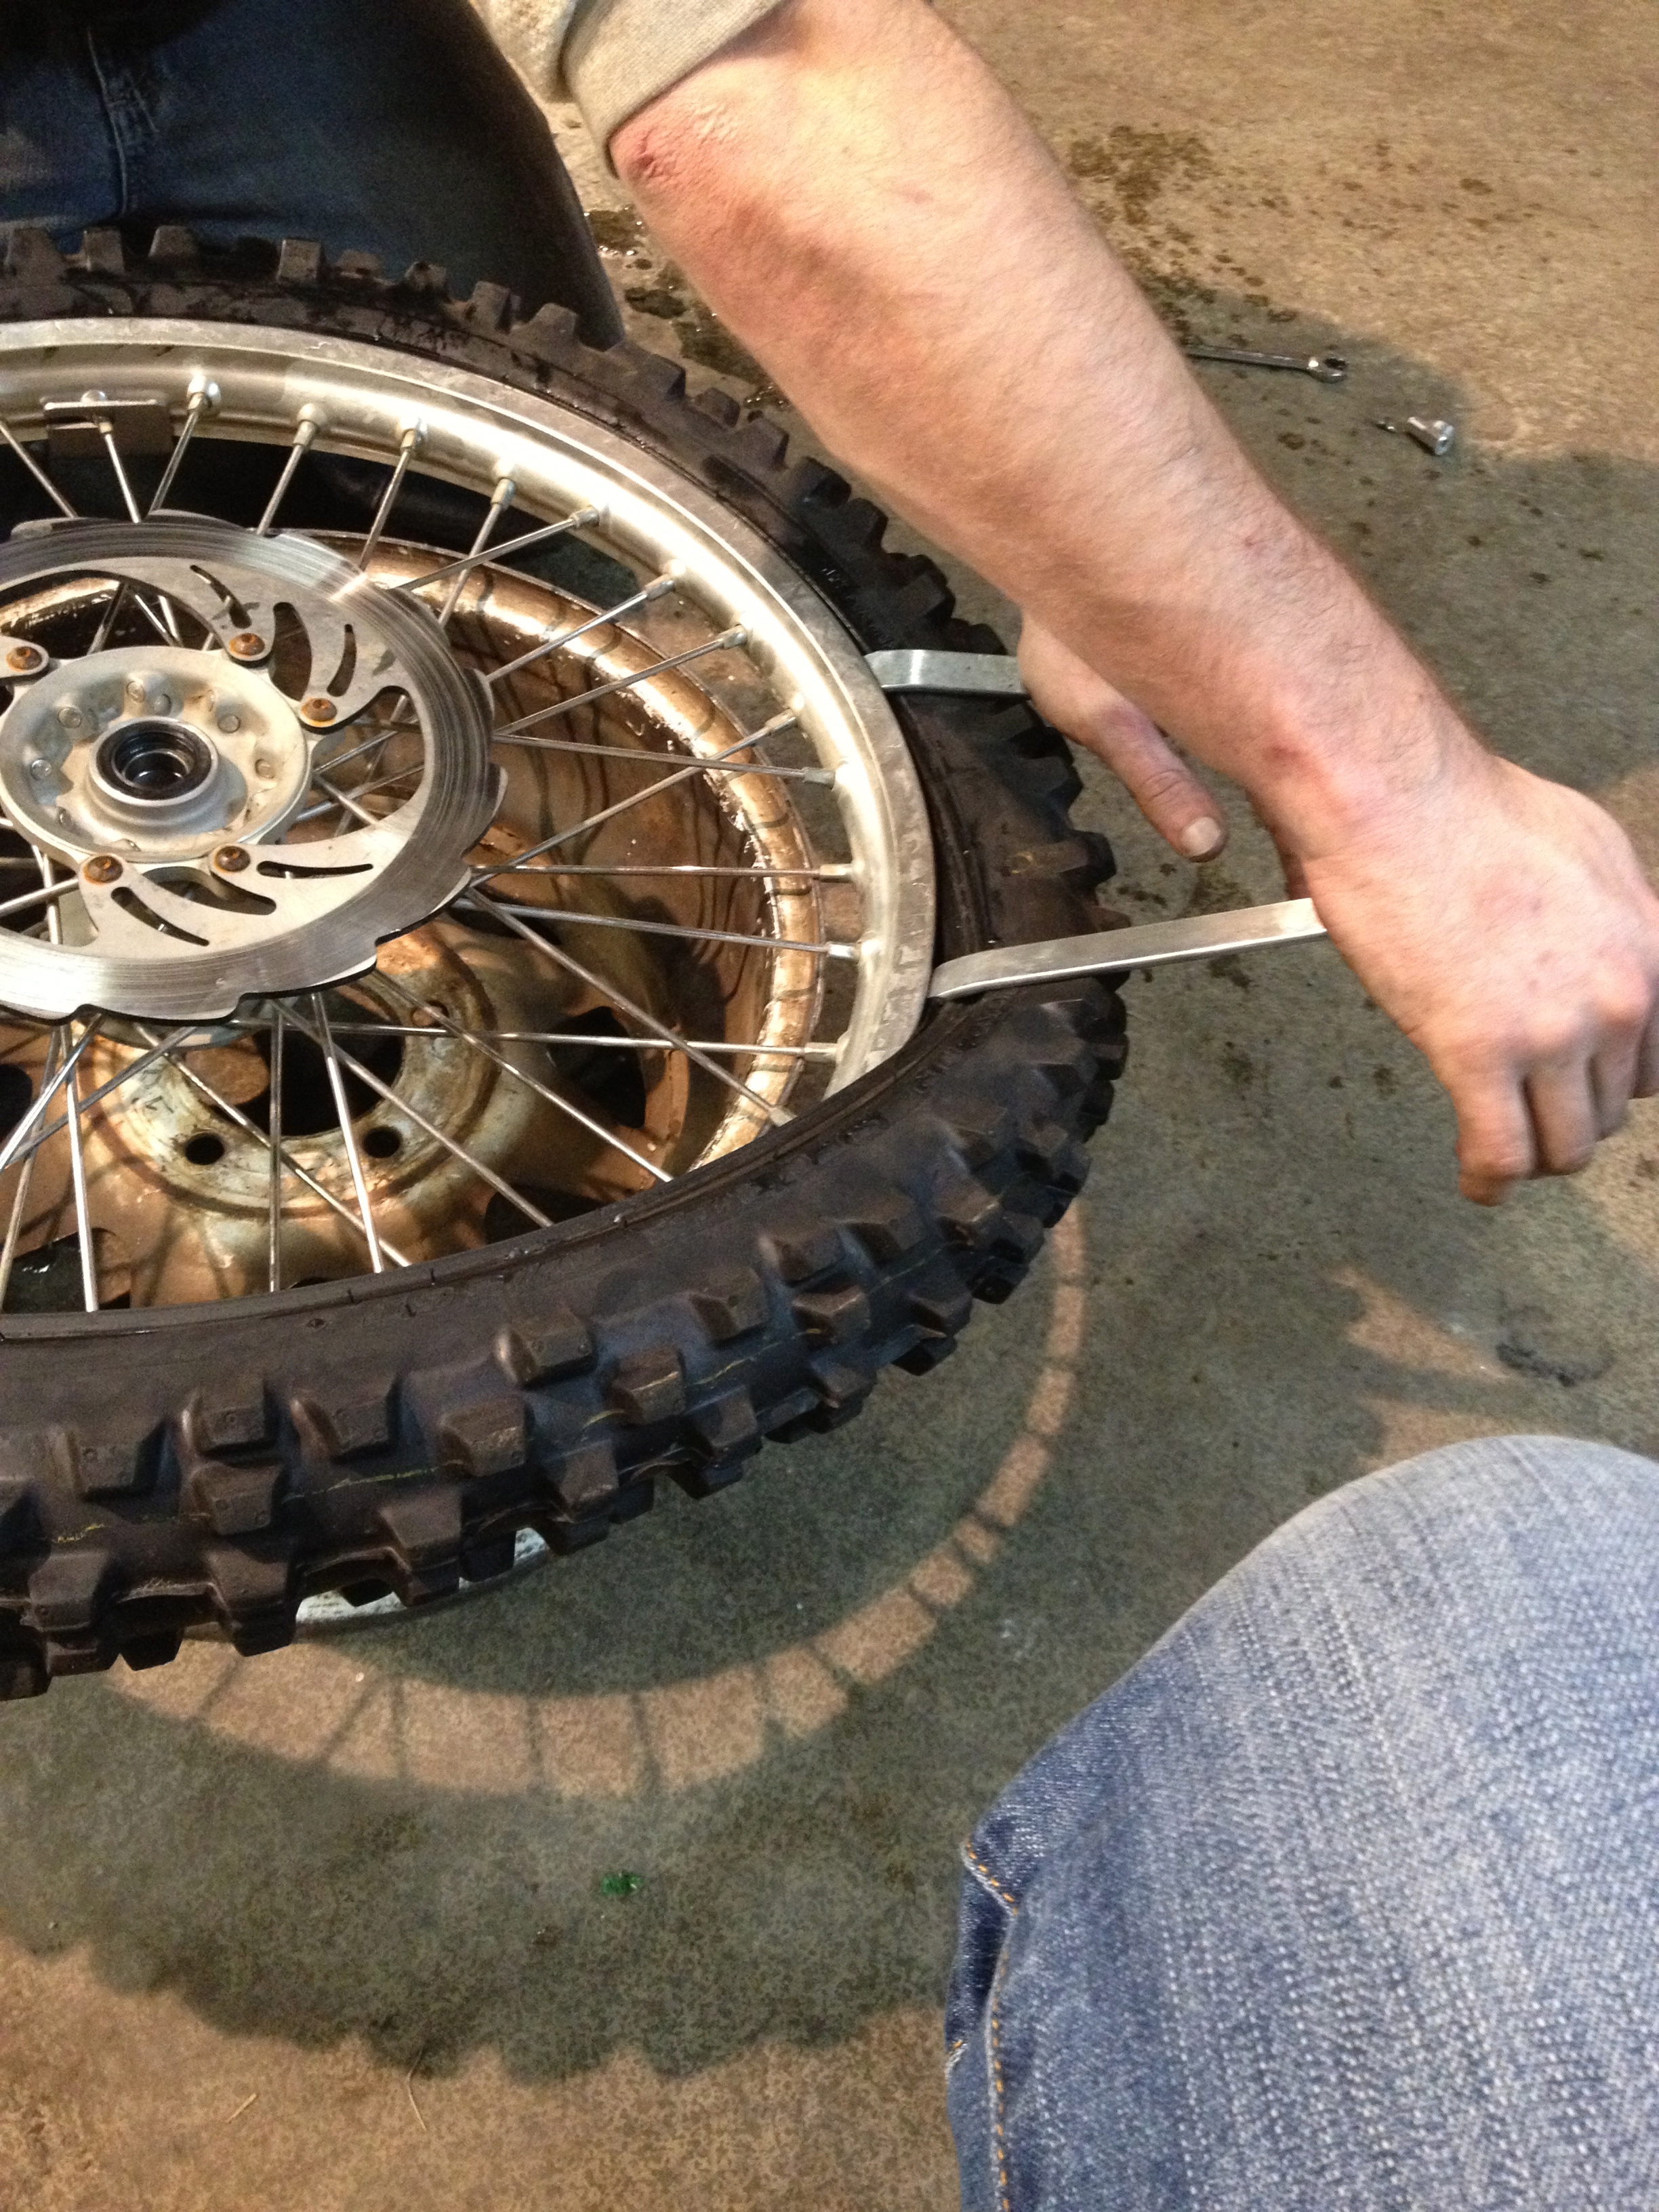
Installing a tire can be someone’s worst enemy, lets try to make it easy for you.
1st thing inflate your tube, and install it into the tire. This insures that there will be no twists or pinch points in the tube. DO NOT install the tube when the tire is halfway on the rim. It’s important to keep the tube inflated just enough to have it fill the tire, if you over inflate it, you will have trouble installing the tire, just lightly fill the tube with just a couple psi.
A little baby powder in the tire helps keep the tube from building friction in the tire.
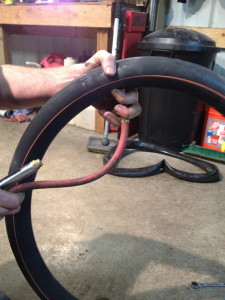
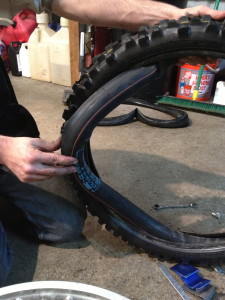
2. After the tube is installed apply some tire installation lube generously around the bead area of the tire, I can’t stress enough how important the lube is. Also make sure your lube does not dry up before you finish the install. More information about tire lube and other install tools found here.
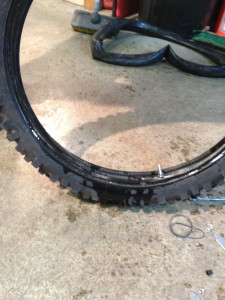
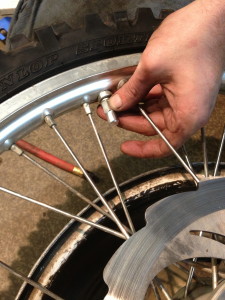
4. Once you have the lube on the bead areas of the tire, you will want to install the valve stem of the tube into the rim…take a look at the pictures for example. You will pull the tube slightly from the tire and thread the stem into the rim, place your keeping spacer or washer over the stem and thread on the valve stem nut.
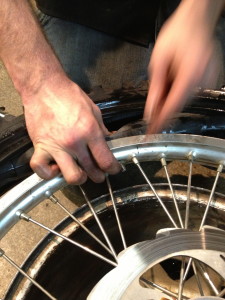
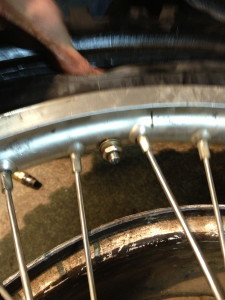
Now you can let the tube set back into the tire, and start to work the tire on over the rim by hand, chase the tire around the rim with your palms ’til the downward facing bead area of the tire will not go on any further with out a tire iron.
Now is a good time to install your bead buddy to keep the tire bead in the center of the rim. It should be placed 180 degrees from where you are going to lever the tire onto the rim, in this case it should be placed near the valve stem. You can use 2 bead buddy’s, one on each side of the rim to drop both sides of the tire bead into the center of the wheel.
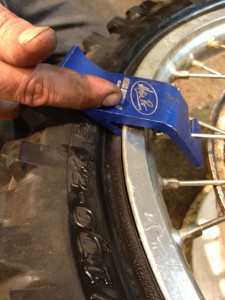
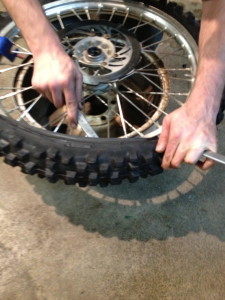
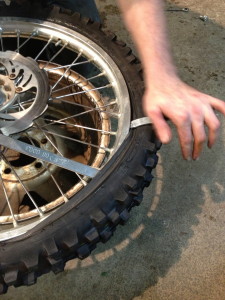
5. Start to lever tire bead into the wheel. at this point the tire should be most of the way on the rim, with only a few inches at the opposite end of the wheel from the valve stem. Use your tire irons, you will have to use 2, and roll the remaining area of the bead over the rim.
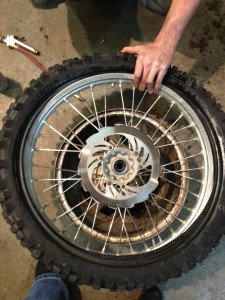
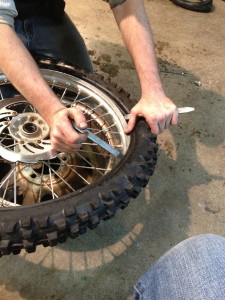
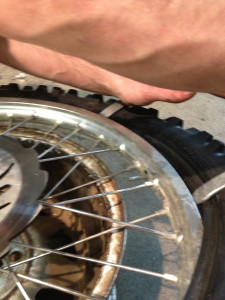
6. The rim lock is hung up on the tire bead, no problem use 2 tire irons to lightly pull the tire over the rim lock, once its over the rim lock press the rim lock stem in to the tire and release the tire bead back into the rim gently.
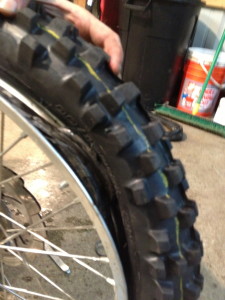
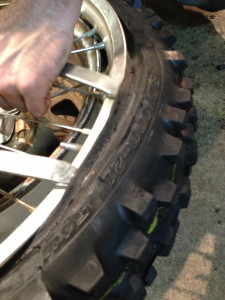
7. Finish levering the remaining bead area that is outside the rim onto the tire. if you are having trouble at this point, remove a little air from the tube and make sure the bead of the tire already on the rim is sitting in the center of the wheel and not on the beads.
8. After the beads are all set into the rim all the way around, its time to air it up. Your tire lube should still be wet, and you will be inflating past your operating pressure to seat the bead all the way around the tire. You will generally have to inflate to around 20-30PSI to seat the bead. DO NOT EXCEED THE SPECIFIED MANUFACTURER MAX PSI RATING! If you are having trouble seating you should try with the valve stem core out using an actual air compressor not a tire pump.
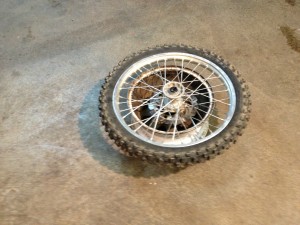
9. After you get the bead seated, and you have set the tire pressure to your preferred operating pressure, its time to tighten down the Rim lock nut and Valvestem nut. be sure to just set them snug, too tight can damage your tire, tube or rim lock.
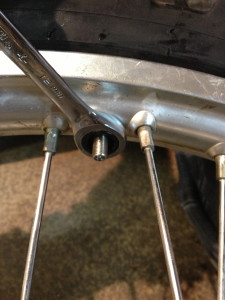
10. Go grab a fresh beer, your tire is installed.
Don’t forget to check out our other posts for more information about removing a tire, tools and other items that should be considered when changing mx tires.
Also for a quick video of similar installation techniques check out Jay Clark’s Dunlop install video on youtube!