Begin with a working brake
Decide whether you are replacing a damaged pedal or looking for a different boot-contact position. If the brake is dragging, leaking, failing to release or behaving unpredictably, stop riding and arrange professional inspection. A different pedal tip is not a diagnosis for a hydraulic fault. Start the buying conversation with a serviceable brake and a clear description of what you want to change.
Record the motorcycle’s exact model and year, the original or aftermarket master cylinder, any changed clevis or return hardware, and the current footpeg arrangement. Ask what the new pedal replaces and what original parts must be retained. A product listing for the model family cannot establish compatibility with every combination of previous modifications.
The boot-contact point is one specification
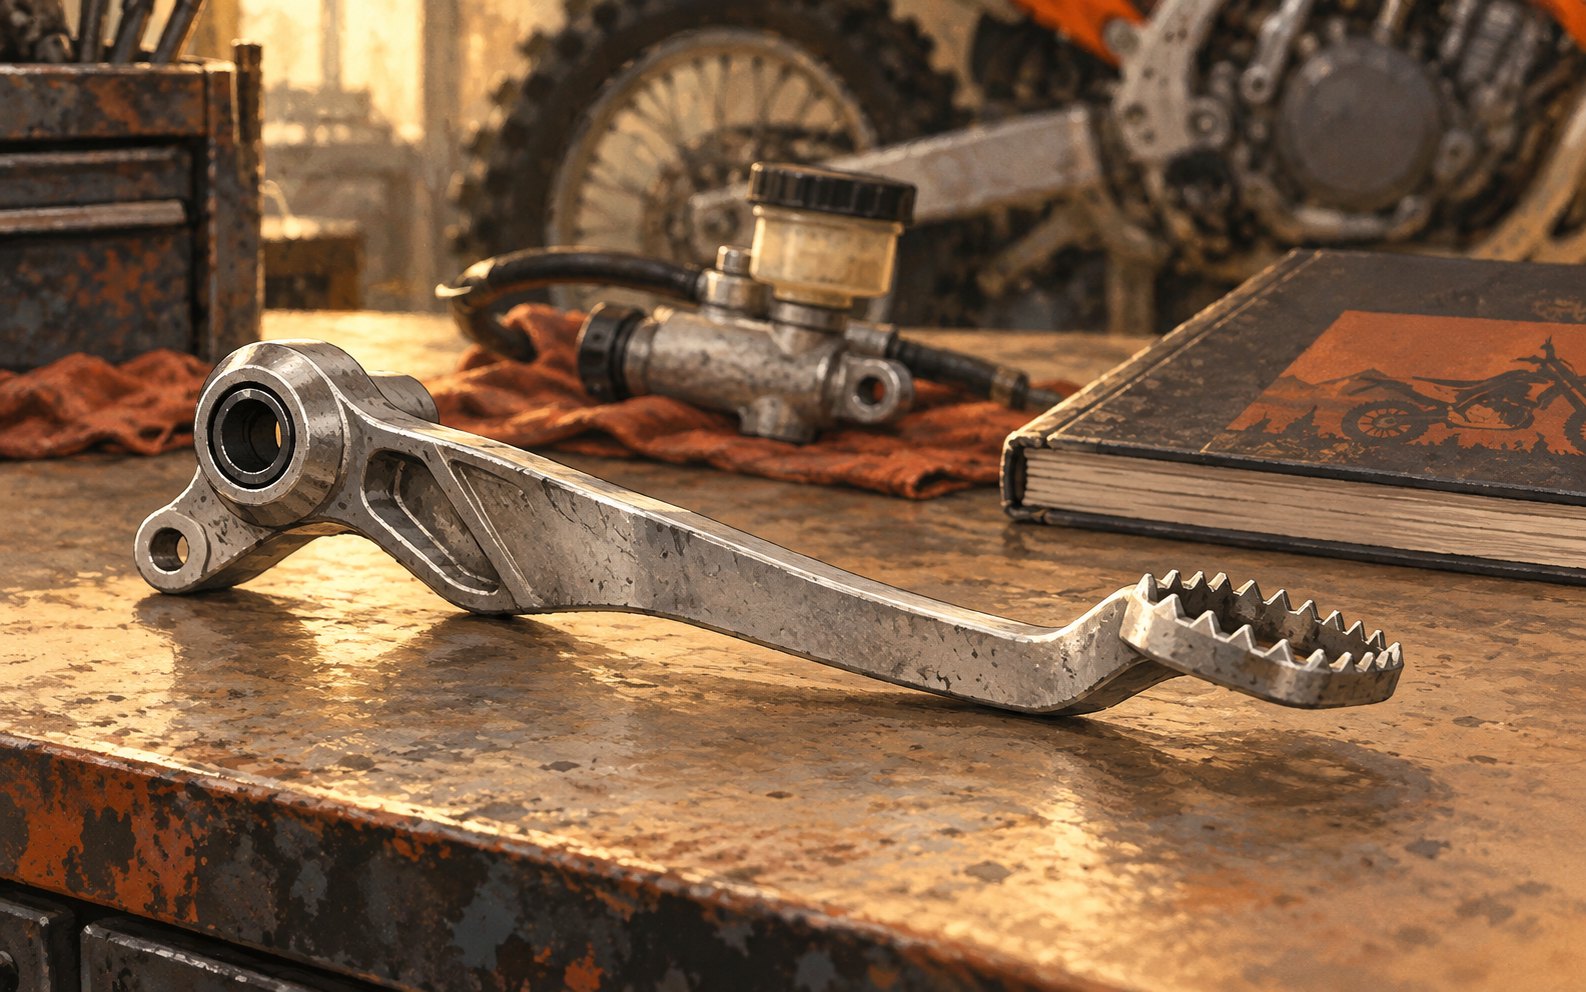
DirtFreak’s ZETA Trigger Brake Pedal provides a retractable tip with two stated positions: its stock position and 10 mm forward. The manufacturer also lists a supplied brake saver. Those are features of that designed pedal family, not a universal fitment rule or proof that the pedal, engine case or brake mechanism cannot be damaged by an impact. [1]
A Trigger listing to check: ZETA Trigger Brake Pedal · Red ZE90-7282 (Amazon paid link). This link is for ZE90-7282 / F6901. Confirm the exact model/year, return spring and linkage requirements; the family description above is not a fitment promise. We may earn a commission from qualifying purchases.
Ask what changes at the boot when comparing a wider tip, a different fore-and-aft position or a replacement arm. Include pedal-to-case clearance and your actual boots in the discussion. A toe platform that is easier to find still has to leave the rider able to keep clear of unintended brake input. Do not judge the result only while sitting casually in ordinary shoes.
Pedal position and free travel are not synonyms
Pedal position describes where the contact surface rests. Free travel concerns the permitted movement before the master-cylinder piston is actuated. The linkage and adjustment procedure determine how those requirements relate on a particular bike. Do not treat a pushrod as an unrestricted ergonomic adjuster, or assume that making the pedal visually level establishes correct hydraulic operation.
Honda’s 2018 CRF250R manual, for example, describes rear-pedal height adjustment through its pushrod and locknut, with a model-specific reference position and tightening requirement. That is a procedure for that motorcycle. It should not be copied onto another model, aftermarket pedal or different master-cylinder arrangement. [2]
Why the release check matters
KTM’s official 2025 390 Adventure R manual warns that insufficient brake-pedal free travel can allow pressure to build and the brake to overheat. Section 14.6 distinguishes movement from the end stop to piston actuation and directs out-of-specification adjustment to an authorized workshop. This is a clearly identified OEM example; its numerical setting is not a generic dirt-bike specification. [3]
The practical implication is to have the complete brake operation checked after changing the pedal, clevis, pushrod-related hardware or peg arrangement. A pedal that feels conveniently close to the boot can still be incorrectly set. Use the exact service procedure and obtain qualified help with any uncertainty about return, free travel, stops or the original hardware that must be transferred.
Confirm the whole mounting package
Before ordering, ask the supplier about the pivot, bushes or bearings, spacers, return spring, clevis connection, stop arrangement and retained fasteners. Where a brake-light switch is fitted, include its operation in the checks. Keep the questions specific to the part and motorcycle. Do not assume that a kit described as a replacement includes every service item or supports every aftermarket master cylinder.
Have clearance checked through the required range of movement, not only with the pedal at rest. Include the engine cover, frame, exhaust or guards that could interfere. A brake saver or folding tip also has its own fitting requirements; it must not become an obstruction to pedal movement or return. Do not tighten, shorten or reposition protective hardware by guesswork to make a crowded setup appear finished.
Work outward from the footpeg
A footpeg change can alter how the boot reaches the pedal. Our suggestion is to assess that relationship before treating pedal height as the first solution. Describe the change to a qualified mechanic, including any different boots or peg position. Choose the contact geometry deliberately, then have the required hydraulic and mechanical checks completed under the appropriate instructions.
Keep comfort assessment separate from permission to ride. If the pedal does not return normally, the brake drags or its behavior changes after work, stop and get the system inspected. Do not try to solve the problem with repeated riding or further unsupervised pushrod adjustment. Correct operation has to be established before evaluating whether the new contact surface suits your riding.
Keep a complete setup record
Save the pedal and tip part numbers, retained components, supplier confirmation and service instructions together. Record who performed the installation and the relevant inspection work. The useful outcome is an accessible, compatible pedal that operates and releases correctly. This guide makes no hands-on durability claim and offers no universal pedal-height, free-play or fastener-torque number.
For friction-material selection, read our separate brake-pad buying and inspection guide.
A Trigger pedal to check by part number
The linked pedal is ZE90-7282, also cross-referenced as F6901. Verify its application and hardware requirements before comparing pedal position.
Affiliate disclosure: As an Amazon Associate I earn from qualifying purchases. These Amazon links are paid links. How our links work.
ZETA Trigger Brake Pedal · Red ZE90-7282
A red ZETA Trigger rear brake pedal. The Amazon product details identify ZE90-7282; DirtFreak’s variation table cross-references that number as F6901.
Before you buy: Confirm the current ZETA application for your exact model and year. Check pivot, return spring, clevis and brake-light-switch requirements. Do not infer fit for a DR-Z4S/4SM or another newer bike from a similar model name.
View on Amazon (paid link) — ZETA Trigger Brake Pedal · Red ZE90-7282, ZE90-7282 / F6901Seller listing checked · ZE90-7282 / F6901Product identities were checked against Amazon listings, with manufacturer information used where available. Listing-specific applications are identified as such; no hands-on testing is claimed. Confirm fitment with the manufacturer, plus package contents, seller and current price before buying.
Sources & technical information
- DirtFreak/ZETA: Trigger Brake Pedal features and tip positions.
- Honda: 2018 CRF250R owner manual, clutch and brake controls.
- KTM: 2025 390 Adventure R owner manual, section 14.6 brake-pedal free travel.
Sources checked Oct 22, 2026 (UTC). Fitment, specifications and procedures vary; confirm the current manufacturer instructions for your exact bike and component.